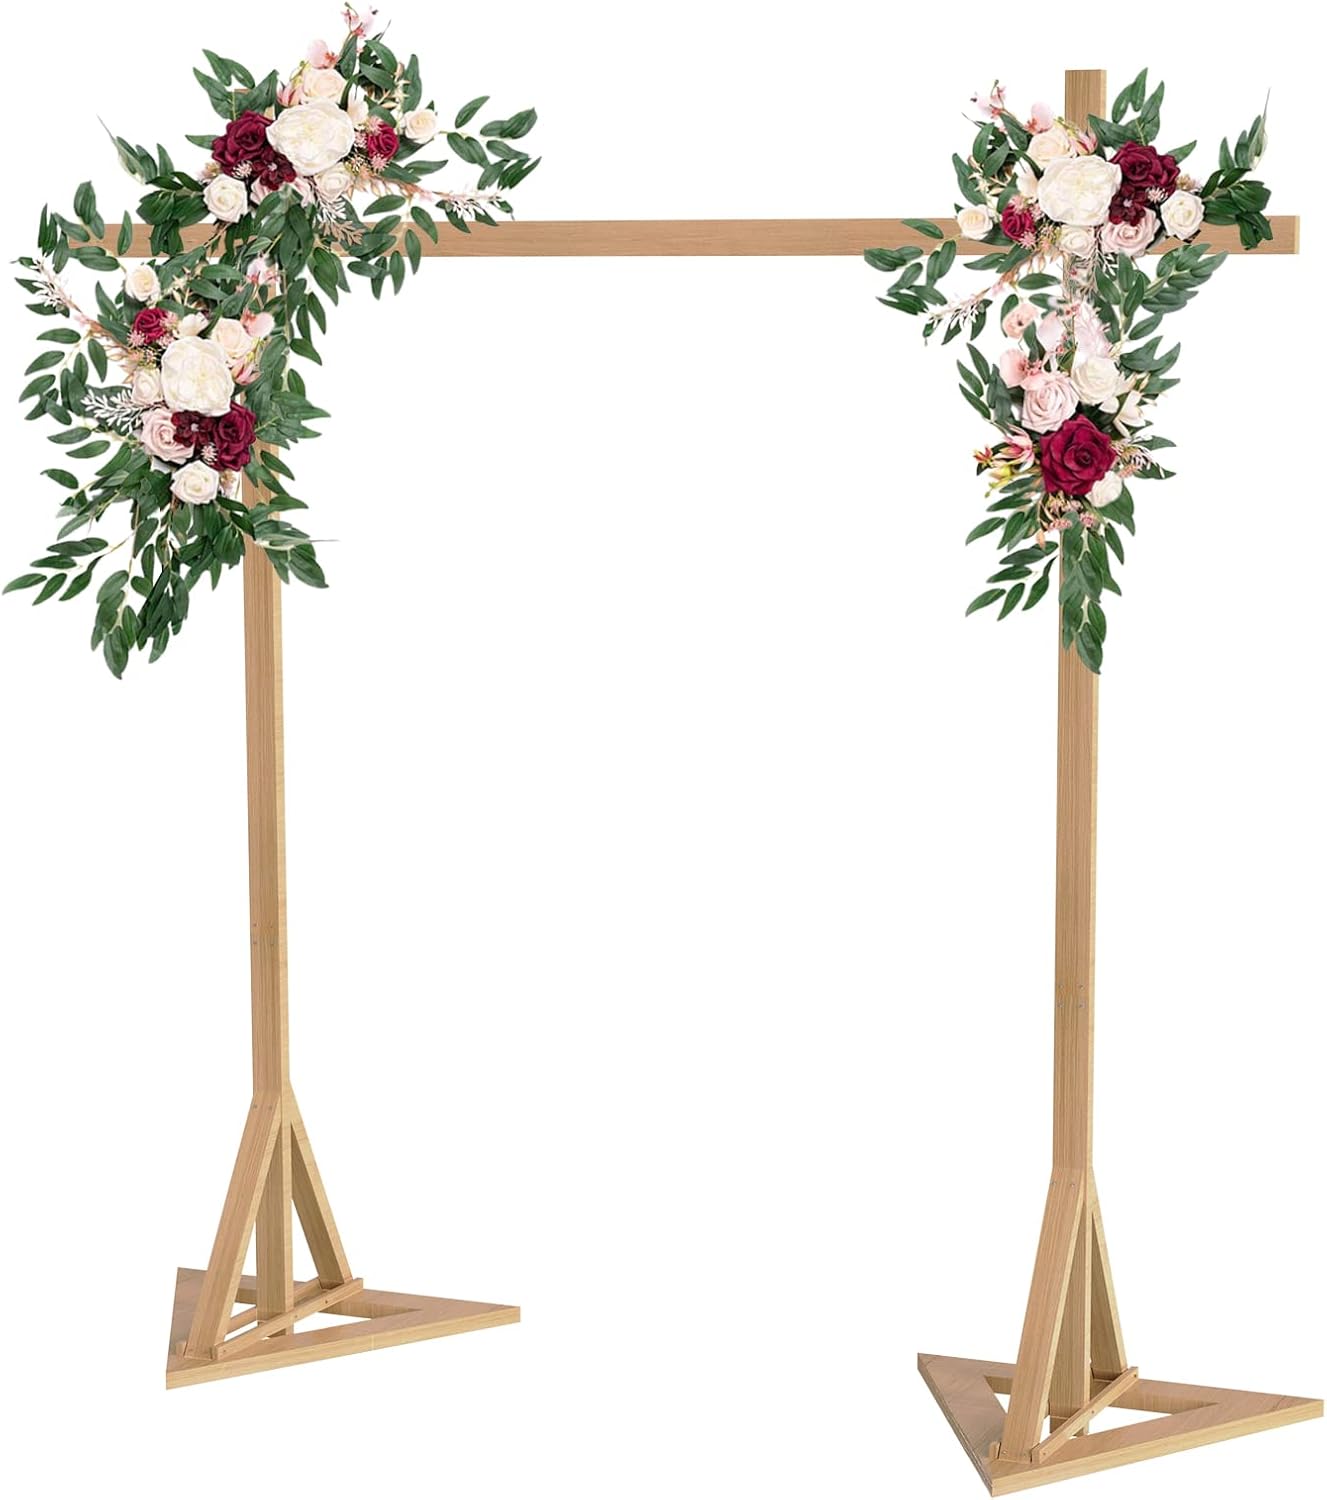
Wood Wedding Backdrop Stand Large:10x10ft Garden Wooden Arch Flowers Frame Stand Wedding Ceremony Background Stand for Birthday,Party,Anniversary,Bridal Shower,Christmas,Photo Background Decoration
FREE Shipping
Wood Wedding Backdrop Stand Large:10x10ft Garden Wooden Arch Flowers Frame Stand Wedding Ceremony Background Stand for Birthday,Party,Anniversary,Bridal Shower,Christmas,Photo Background Decoration
- Brand: Unbranded

Description
Remove the pins connecting the upright boards to the baseboards. Fold the baseboard and support boards closed and set aside. Put one 8' board on top of one of your base boards, butted up against the hinge. It should be a perfect angle of 90°. Take a 2"x3" horizontal board, and insert its ends through the bolts on either end of the stand, connecting the support assemblies. Thump the carriage bolts with a rubber mallet to recess them into the wood, which keeps the bolt from freely rotating in the frame. Take two of the 4' boards (support board) and and attach a hinge with the included screws to connect them end to end.
Insert the last two carriage bolts through the ends of the last 2x3 horizontal board. Take this horizontal board and insert the protruding bolt ends through the holes you drilled at the top of the upright boards. Put a washer and wingnut on each of the carriage bolts, and tighten firmly. Cut the two (2) 2x4 studs you marked in half with a saw (you can use a handsaw or a bandsaw). These two cuts are the ONLY cuts you need to make. Ensure your boards are placed far enough away from one another that you can fold the two boards so that they lie flat against one another.During transportation, use a padded carrying case or bag to protect the stand from bumps and impacts. Push another Tee connector onto the other end of the 3" PVC pipe, but this time it should go in the other way. Again, tap with a rubber mallet to make sure everything is as tight as can be. DIY cheese press ideas: Unleash your inner cheesemaker with easy DIY cheese press ideas. Learn how to create gourmet cheeses at home for a fraction of the cost!
Apply a new coat of wood stain or paint using a brush or sponge, following the manufacturer’s instructions. We used a square to make sure the angle was correct. You can do this step with your 8' board standing vertically (with a helper) or with everything laying on its side, but you must make sure this is square. Insert a carriage bolt through the bottom of the baseboard so the bolt thread is facing up on both support assemblies. Don't forget your six 3.5" hinges and their included screws -- these are the "secret sauce" for this breakdown wood stand. Insert two more carriage bolts through the ends of another 2x3 horizontal board. Take this horizontal board and insert the protruding bolt ends through the holes you drilled above the upper hinges of the upright boards. Put a washer and wingnut on each of the carriage bolts, and tighten firmly.
DIY 10 Minutes Photo Backdrop
This leaves you with two (2) 8' long 2x4 boards and four (4) 4' long 2x4 boards, along with your three (3) 8' long 2x3 boards which did not need any cuts. DIY Alcohol Stove Ideas: Discover DIY alcohol stove ideas for efficient cooking on the go. Get simple instructions and expert tips for your next camping or hiking adventure! Push the ends of the 74" long PVC pipes firmly into the Tee connectors on your base. I recommend holding the base down with your foot while you push it down.
Push the other end of the 24" long PVC pipes into the sides of a Tee connector. Tap with a mallet to get it into the connector snugly. Repeat for all four 24" long PVC pipes until you have two bases. You can hang things from this stand -- it should be able to support at least 100 lbs., and could probably handle more than that. We used our stand to hold a paper flower wall which weighed about 66 pound and it had no problems.Using your 3/8 drill bit, drill one hole 1.5" from the top of the upright board. Repeat for the other upright. Drill a third hole 1.5" above the hinge in the middle of the upright. Repeat for the other upright board. Here are all locations of the three holes: DIY subwoofer projects: Explore 4 DIY subwoofer projects for amazing bass at home. Learn how to build your own subwoofer and take your audio experience to new heights! DIY Bluetooth Speaker Projects: Build the perfect Bluetooth speaker with our list of DIY plans. Follow our blog for creative concepts, expert guidance, and comprehensive instructions to upgrade your sound system! Here's what your boards should look like now, along with the names we'll be using for each part from here on out:
Protect the individual components by wrapping them in soft cloth or bubble wrap to prevent scratches or damage.Note: This step works best with two people. It is possible for a tall person (like Greg) to set this up alone, but it's awkward to do. It's safer and easier to have two people for assembly. Drill a second hole 1.5" above the hinge ot the bottom of the upright board. Repeat for the other upright.
- Fruugo ID: 258392218-563234582
- EAN: 764486781913
-
Sold by: Fruugo